Cartridge Mounting and Calibration Process
We offer two types of cartridge mounting a calibration. Basic is geared towards Technics turntables but the 12 Step can be applied to all turntables.
We estimate the basic process gets the system performing to the 80% mark, while the 12 Step reaches near full potential.
Basic Mounting and Instructions:
- Mount the cartridge on the head shell and connect leads
- Adjust the overhang using Technics overhang gauge
- Adjust the azimuth optically using our in-house SL1200.
- Adjust zenith using the Technics gauge
- Test for signal
- Provide instructions for setting the arm height, anti-skate and tracking force when you unpack it. Note the cartridge is not calibrated to your actual turntable but Technics tolerances are so high that good results can be obtained.
12 Step Premium Installation
- Fully unpack, assemble and calibrate on your turntable.
- Mount and calibrate cartridge taking into account:
- Head shell selection for optimal compliance
- Mat thickness
- Calibration method including Bearwald, Stevenson or Loefgren most suited for your record collection.
- Inspect and photograph stylus using our high power microscope and provide pictures
Steps:
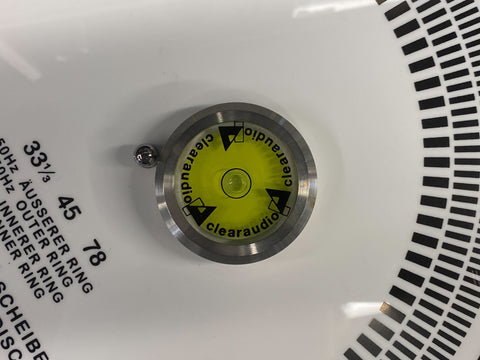
- Level Turntable
- Test 33, 45 and 78 RPM to ensure within spec
- Set OVERHANG using Feickert protractor and gauge
- Set exact TRACKING FORCE with digital gauge
- Set VTA with gauge block or digital microscope. Set lifter height.
- Set ZENITH using Feickert protractor or WallyTractor
- Test for channel orientation L/R using test record
- Test for proper phasing using test record
- Set Anti-Skate
- Set Azimuth using Fozgometer or UPL Analyzer
- Confirm TRACKABILITY with test record torture tracks. Provide photo of scope readout.
- Measure and record compliance and adjust head shell mass as needed.
Turntable will ship with head shell and counter weight removed. We will provide a digital scale to set tracking force along with instructions. Total setup time should be no more than 15 minutes on arrival.
We will also provide a printout detailed results, recommended specs and pictures

CALIBRATION TEST RIG

SOME OF THE TOOLS USED

SETTING THE MACHINE LEVEL

CONFIRMING SPEEDS

SETTING THE APPROPRIATE RECORD HEIGHT BEFORE VTA

CALCULATING TOTAL SYSTEM WEIGHT

FORMULA FOR CALCULATING COMPLIANCE

INSPECTING AND DOCUMENTING CARTRIDGE HEALTH

SETTING THE OVERHANG WITH FEICKERT

SETTING THE TRACKING FORCE

SETTING THE VTA (VISUAL VERSION)

MEASURING STYLUS RAKE ANGLE

ADJUSTING THE ZENITH

TESTING AZIMUTH WITHT FOZGOMETER

UPL ANALYZER USED IN CONJUNCTION WITH FOZGOMETER TO MAXIMIZE STEREO SEPARATION

TESTING TRACKING ABILITY

TEST RIG IN ACTION

DOCUMENTATION FOR CLIENT

CRITICAL LISTENING FOR L/R, PHASING AND QUALITY

SECURING THE HEAD SHELL FOR SHIPPING

CARFULL PACKING AND INSTRUCTIONS

CARFULL PACKING AND INSTRUCTIONS
