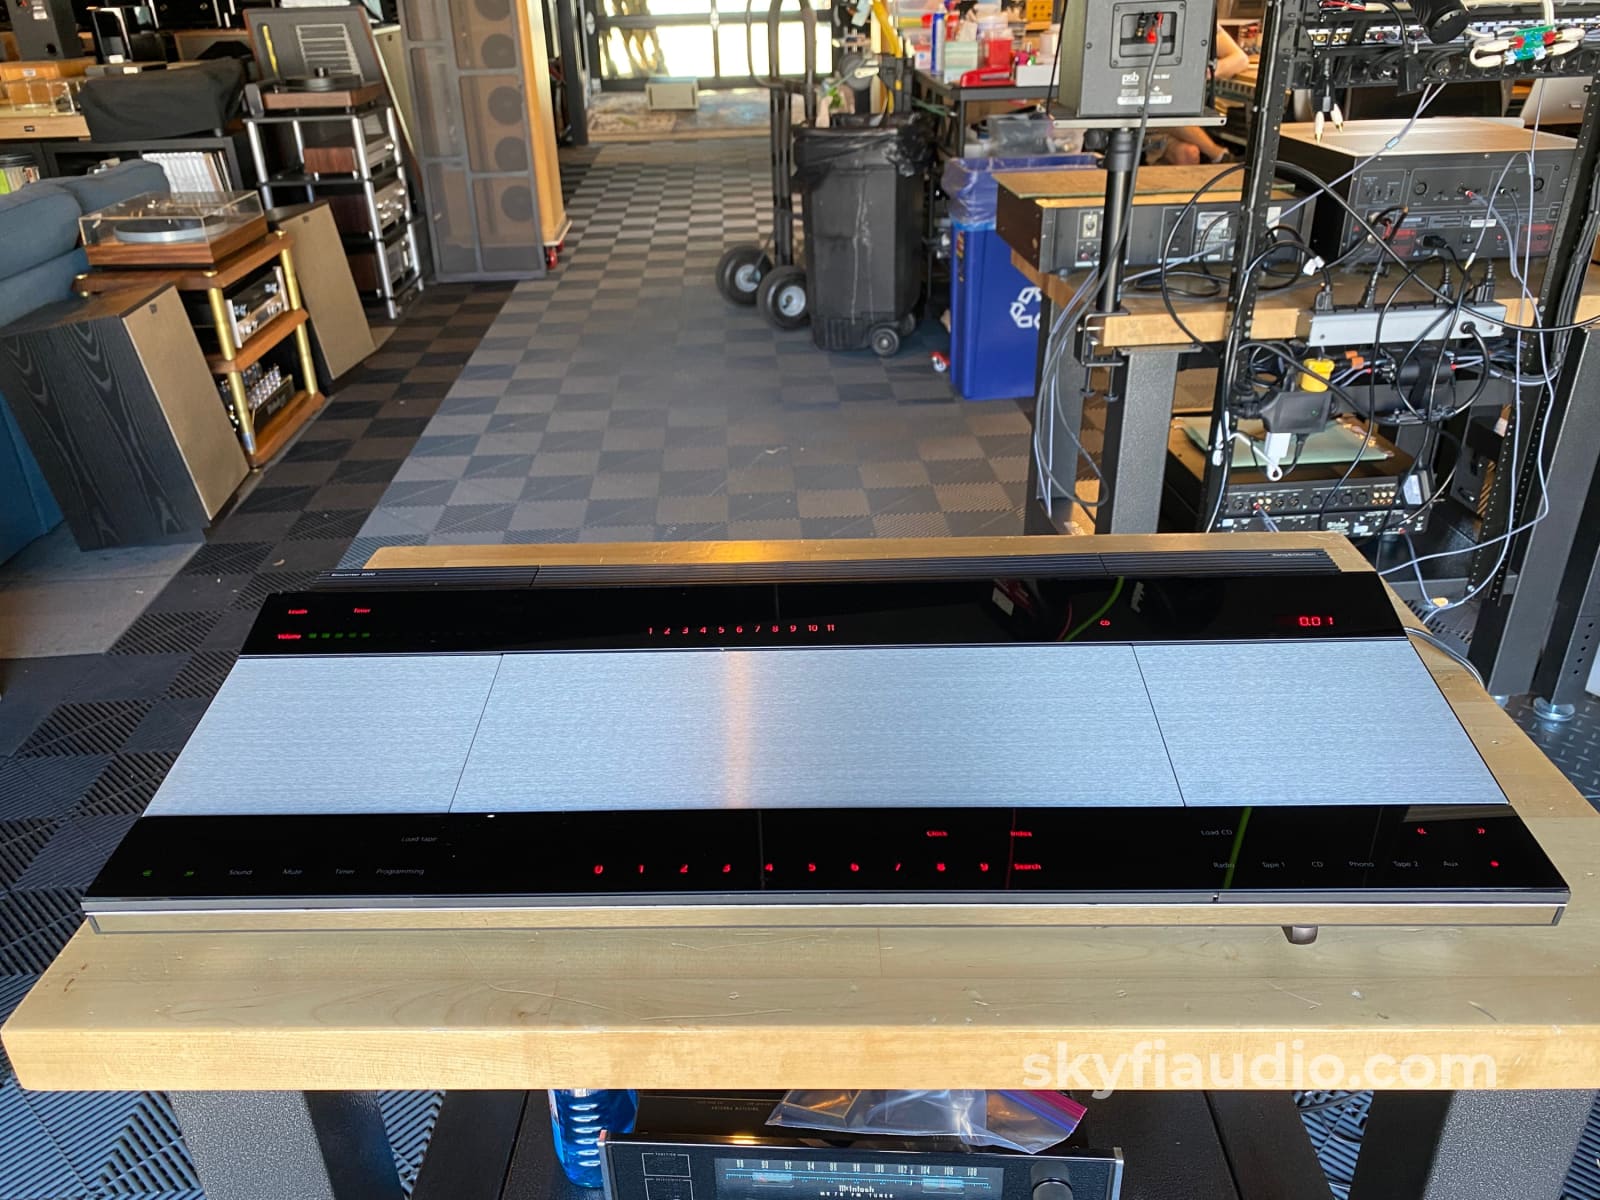
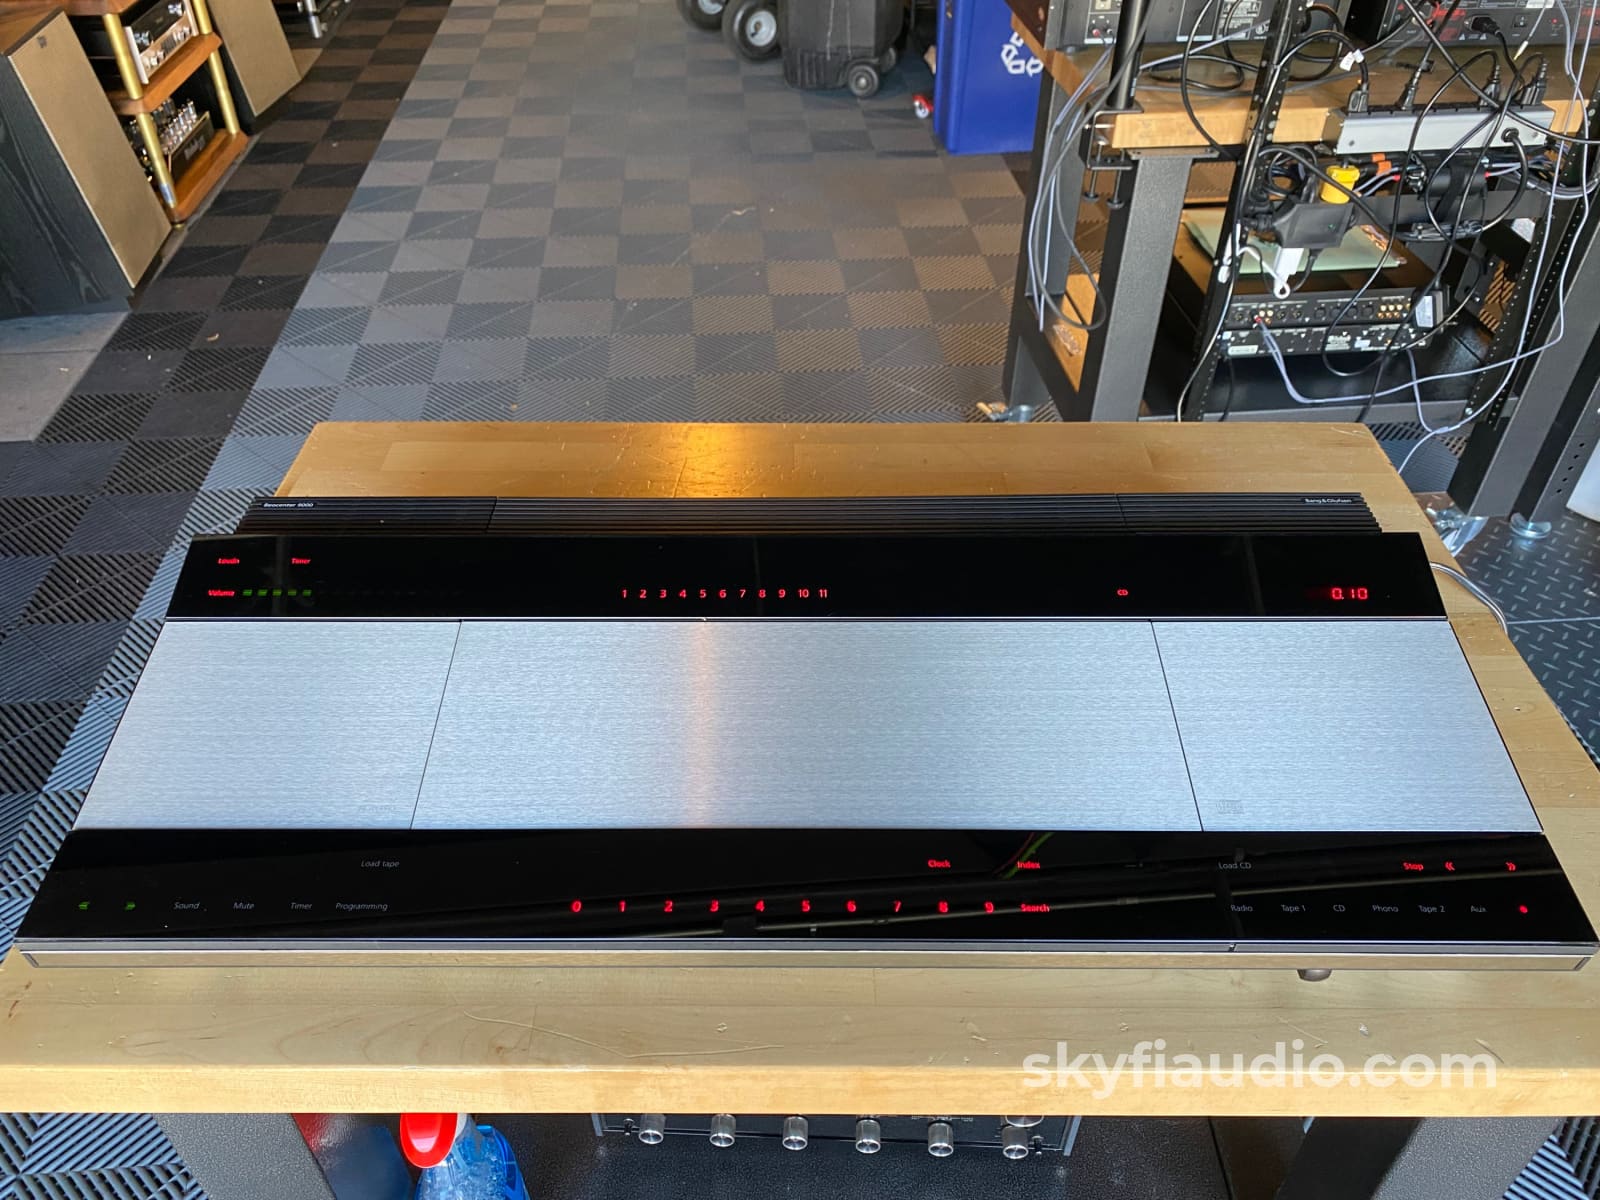
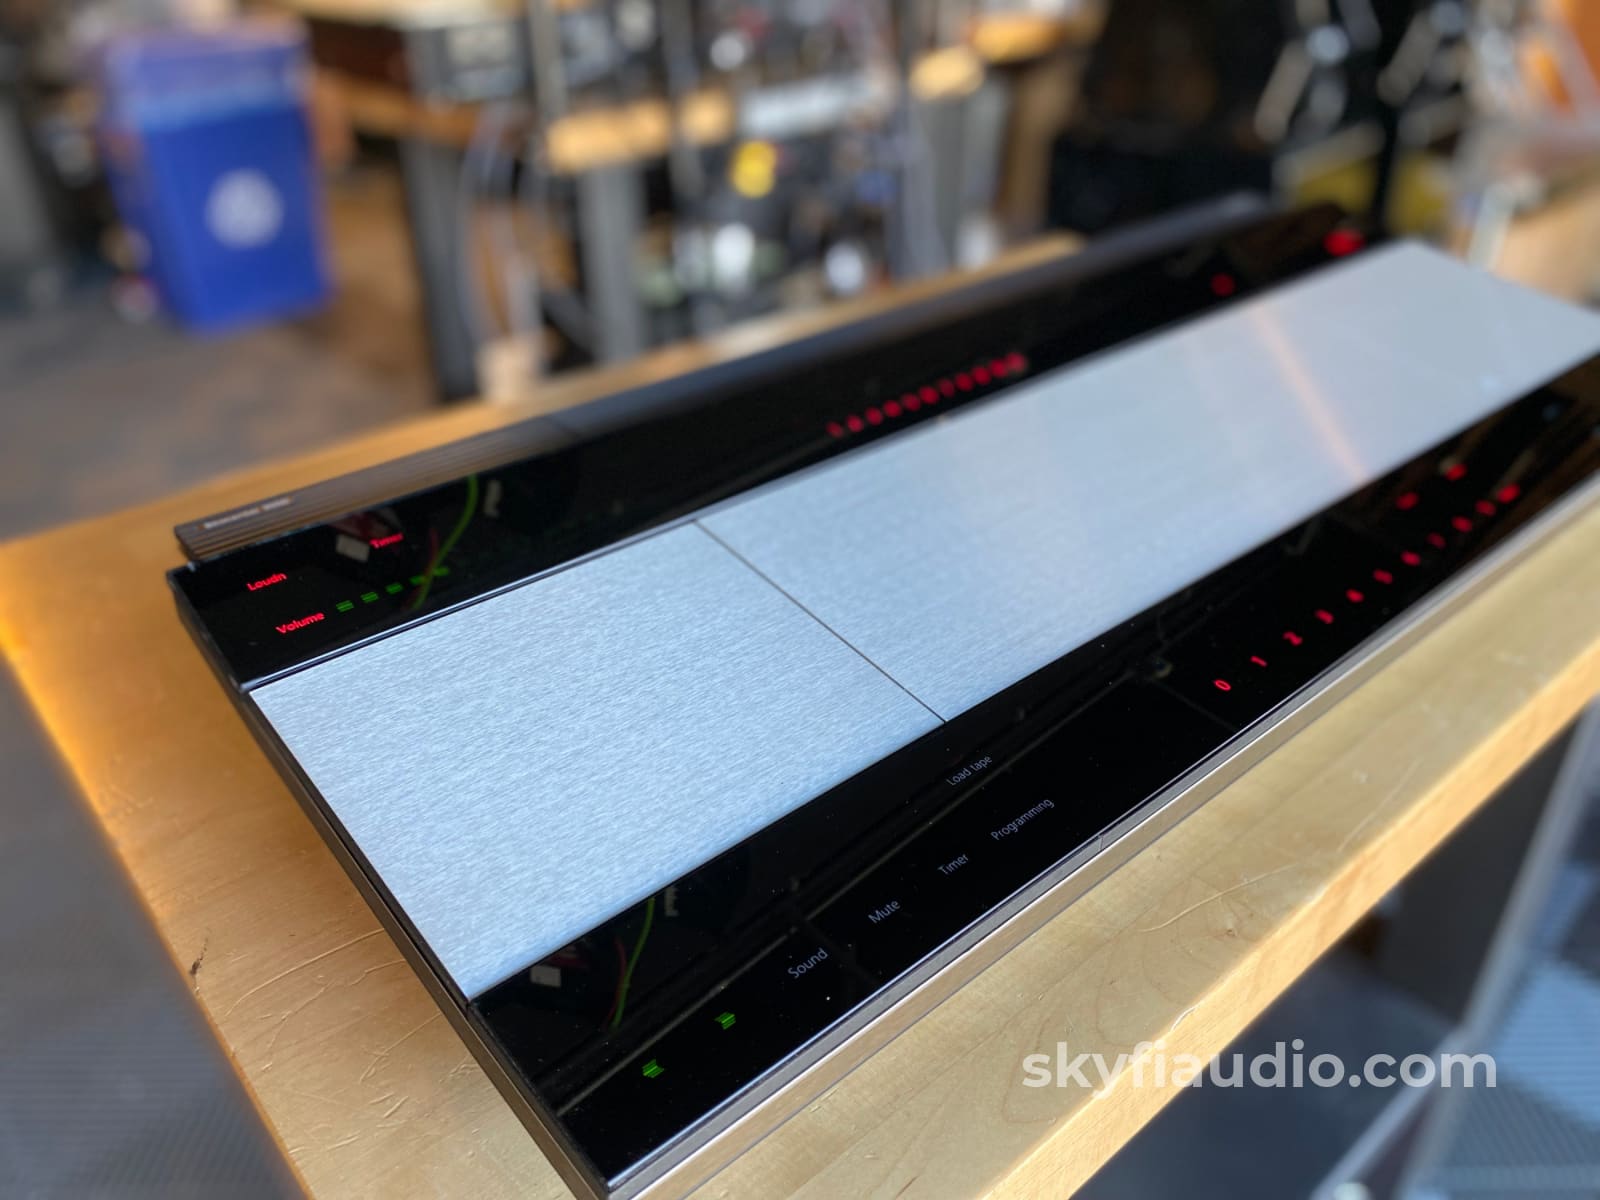
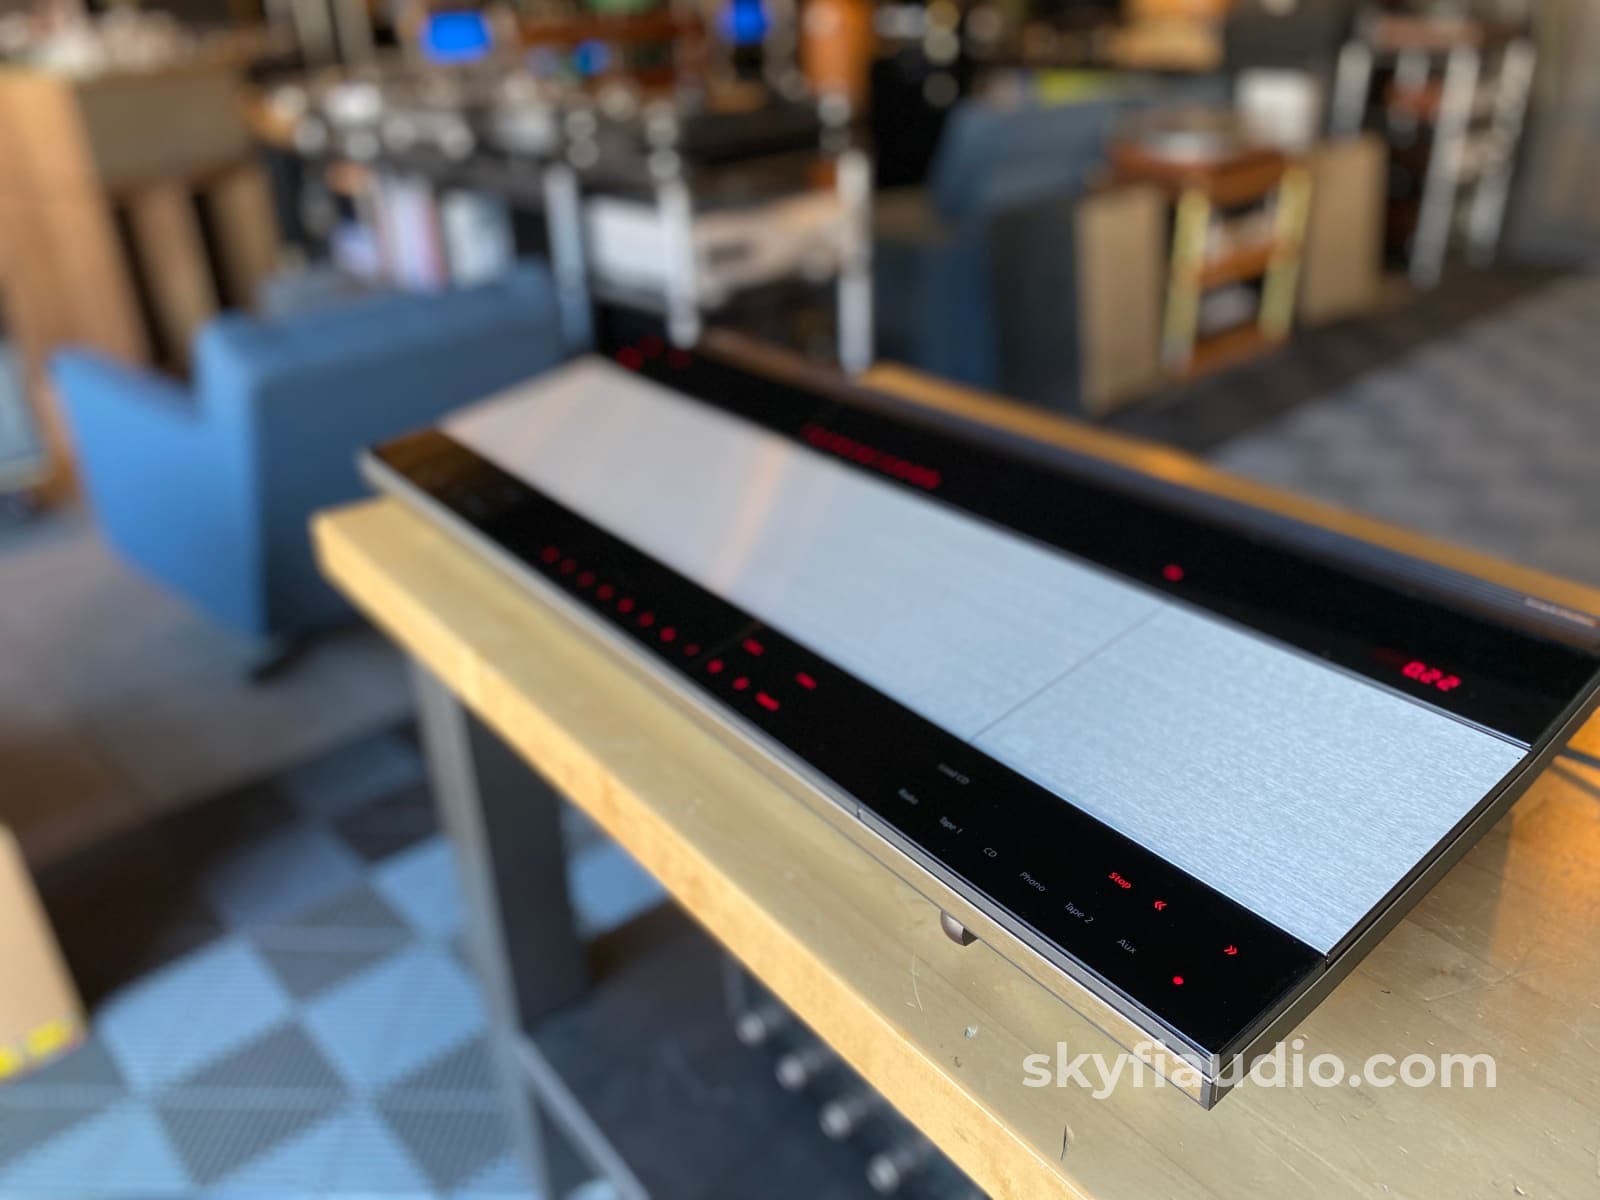
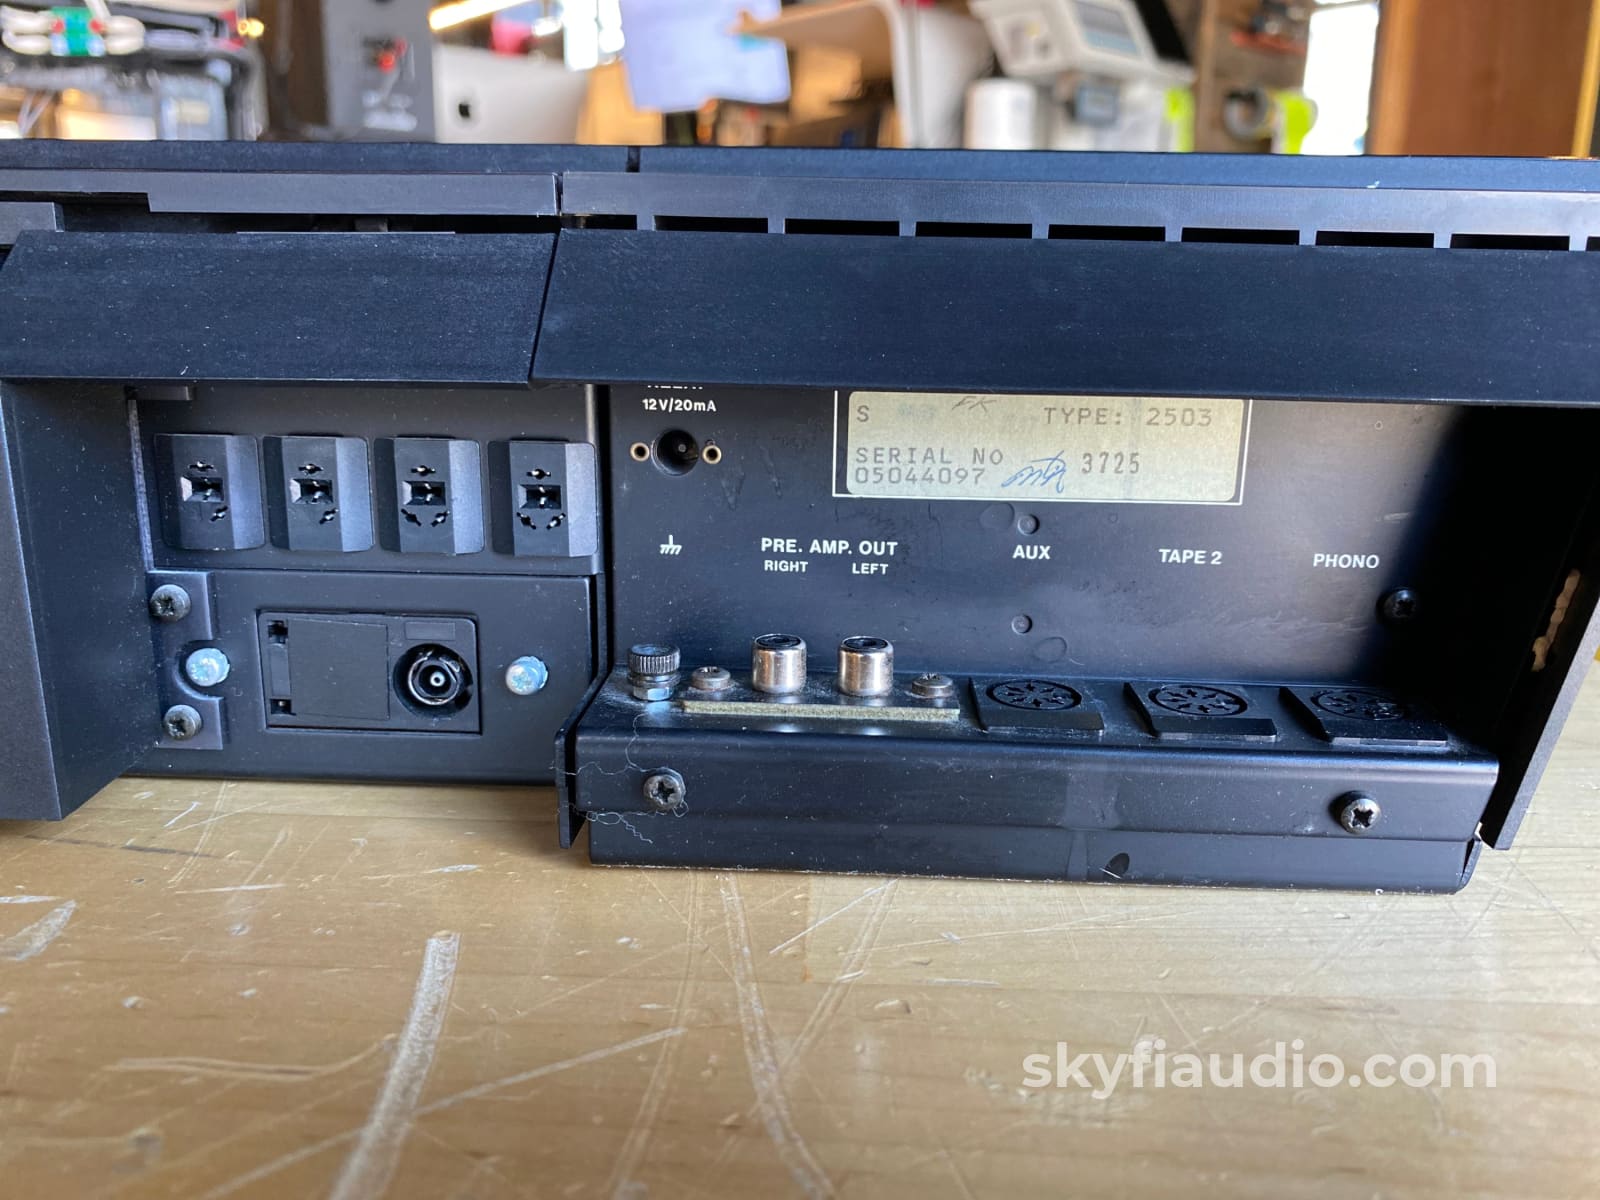
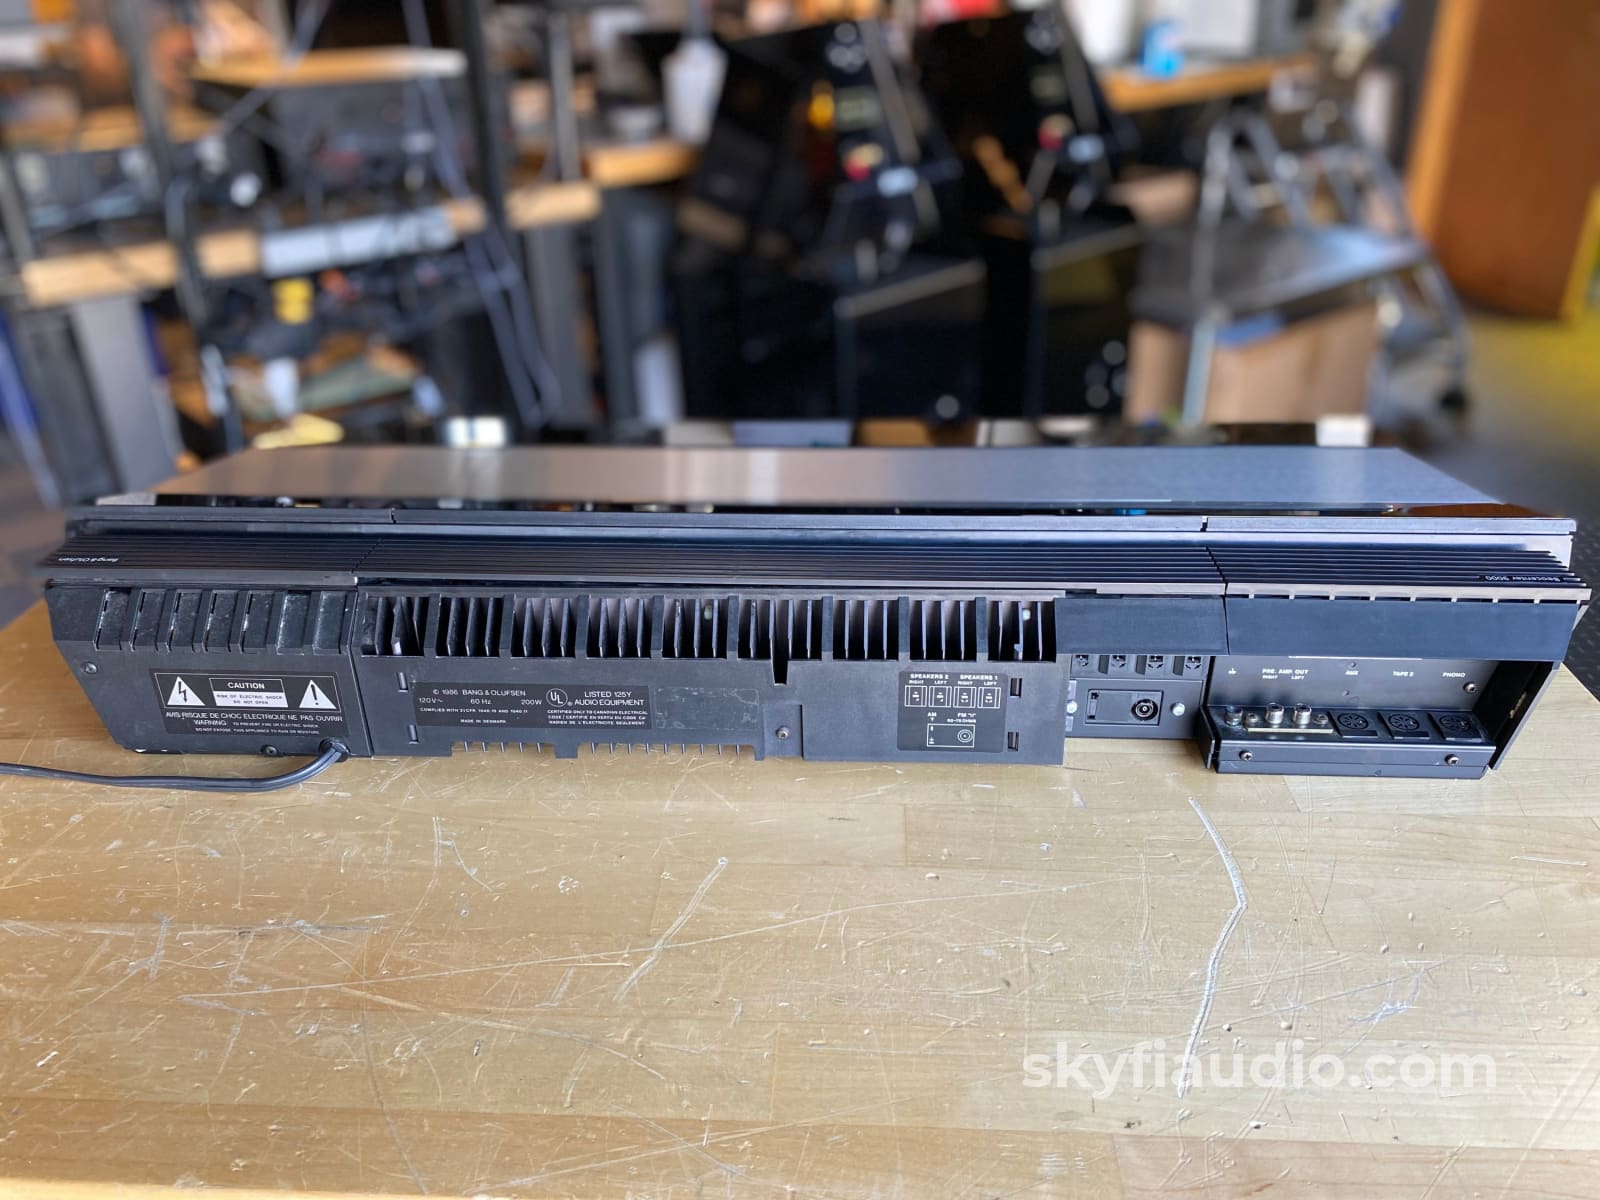
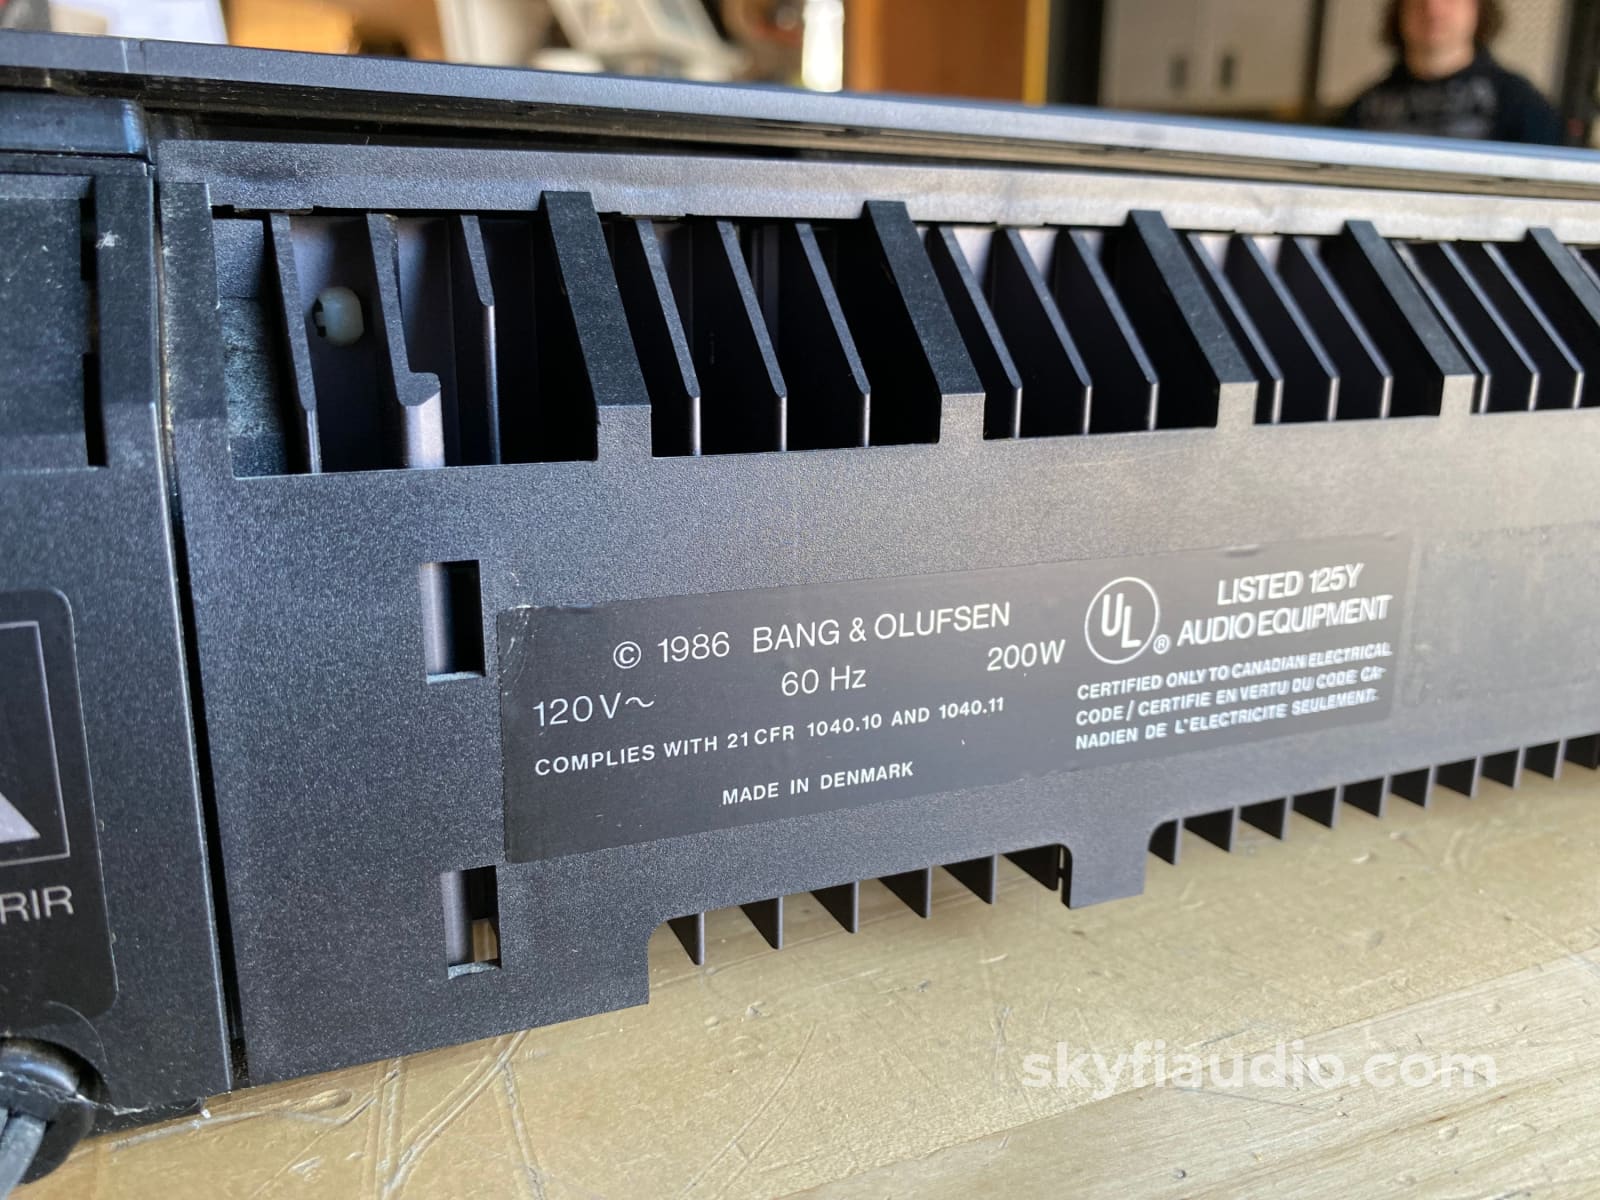
Bang & Olufsen Beocenter 9000 CD/Radio/Cassette Player
Free Shipping on Most Electronics - Excludes Speakers and Items Requiring Freight - Contiguous U.S. Only
Pickup currently unavailable at SkyFi 479

Bang & Olufsen Beocenter 9000 CD/Radio/Cassette Player
SkyFi 479
479 South Broad Street
Glen Rock NJ 07452
United States
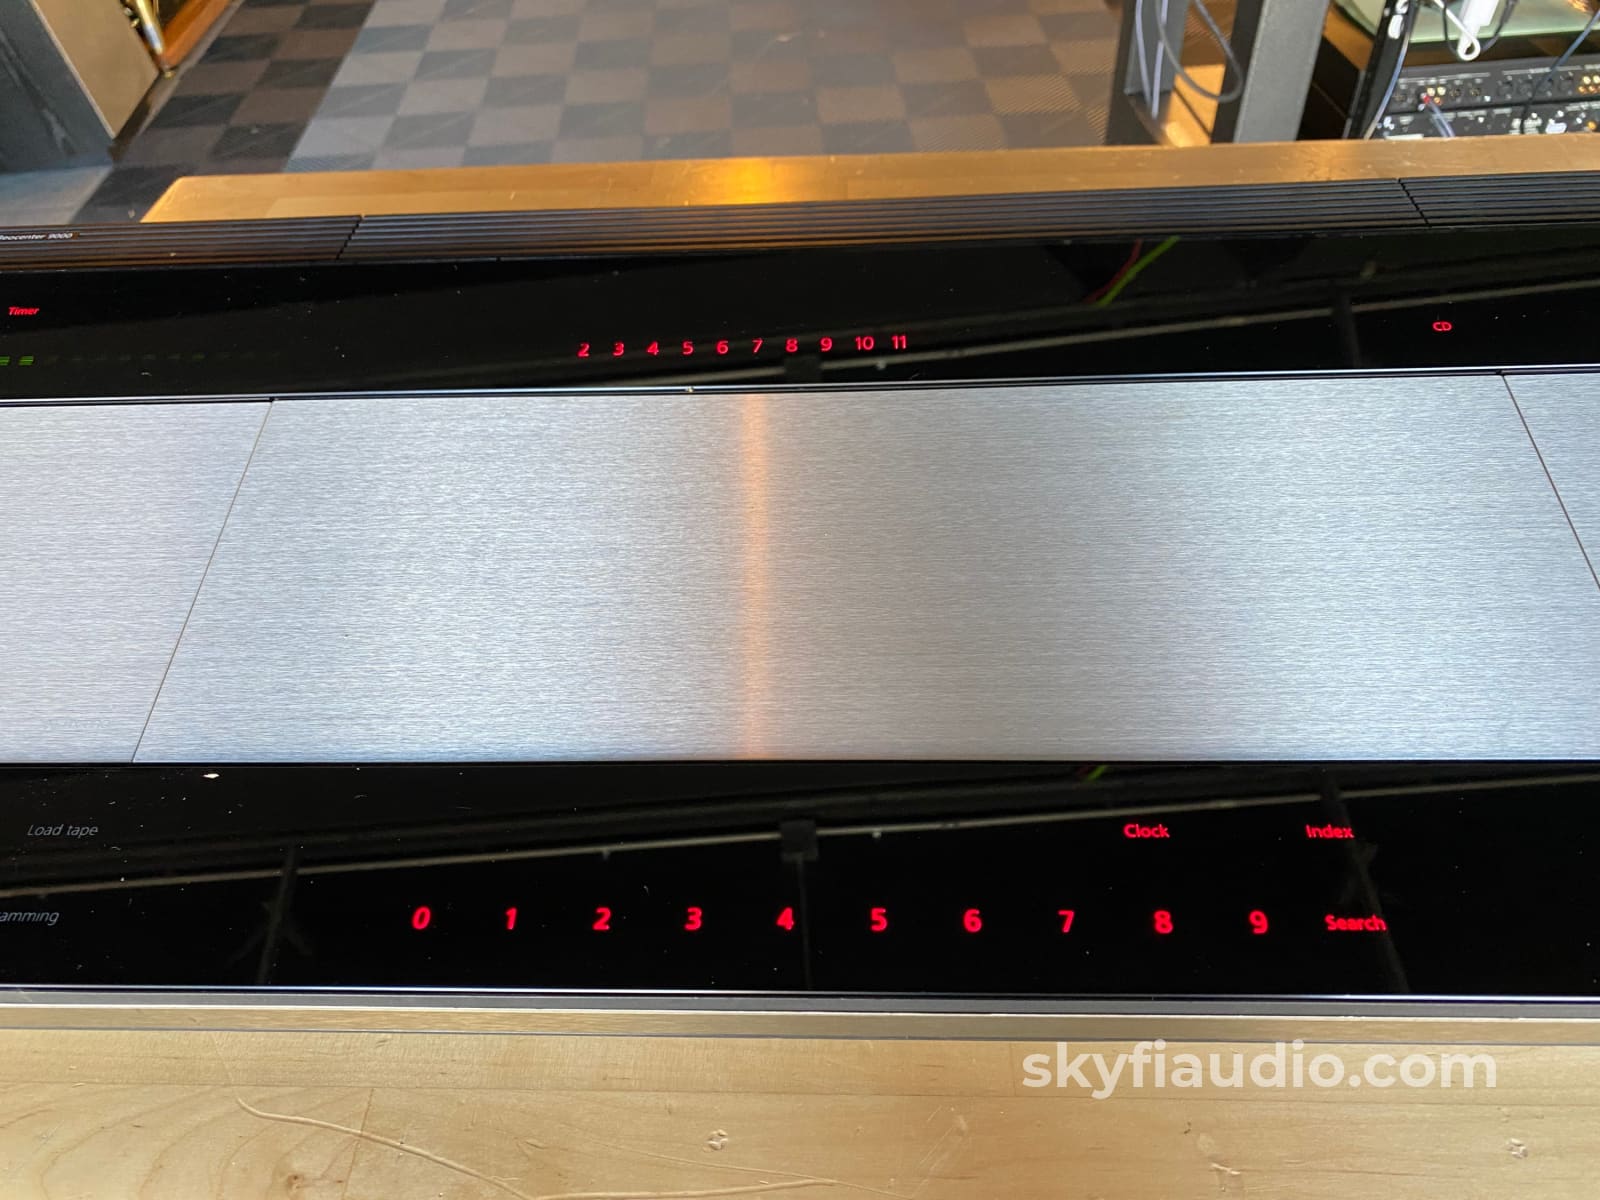
There are few pieces out there more impressive and pleasurable to use. The tactile controls, smooth operation of doors, and incredible aesthetics makes this piece unique.
This was a long-term restoration project we undertook at SkyFi. It was more of a labor of love rather than a business savvy move.
There are plenty of these amazing units out there, however most don't work properly due to their complexity, age, and lack of technical repair knowledge.
This particular machine was carefully serviced in-house receiving new belts for the cassette deck, as well as the left and right sliding doors. It also received a new laser.
It's now working as it should and ready to work for another stint before all the rubber parts wear out again, likely another decade or two.
Because of its delicate nature, having several glass panels and heavy construction, we will not ship this unit sorry. Available for pickup in our shop only. We can also arrange a courier if you're within striking distance to our shop in Glen Rock NJ.
Included with your purchase is the Beocenter 9000 unit and the captive power cable.
More from B&O courtesy of the fantastic Beoworld website:
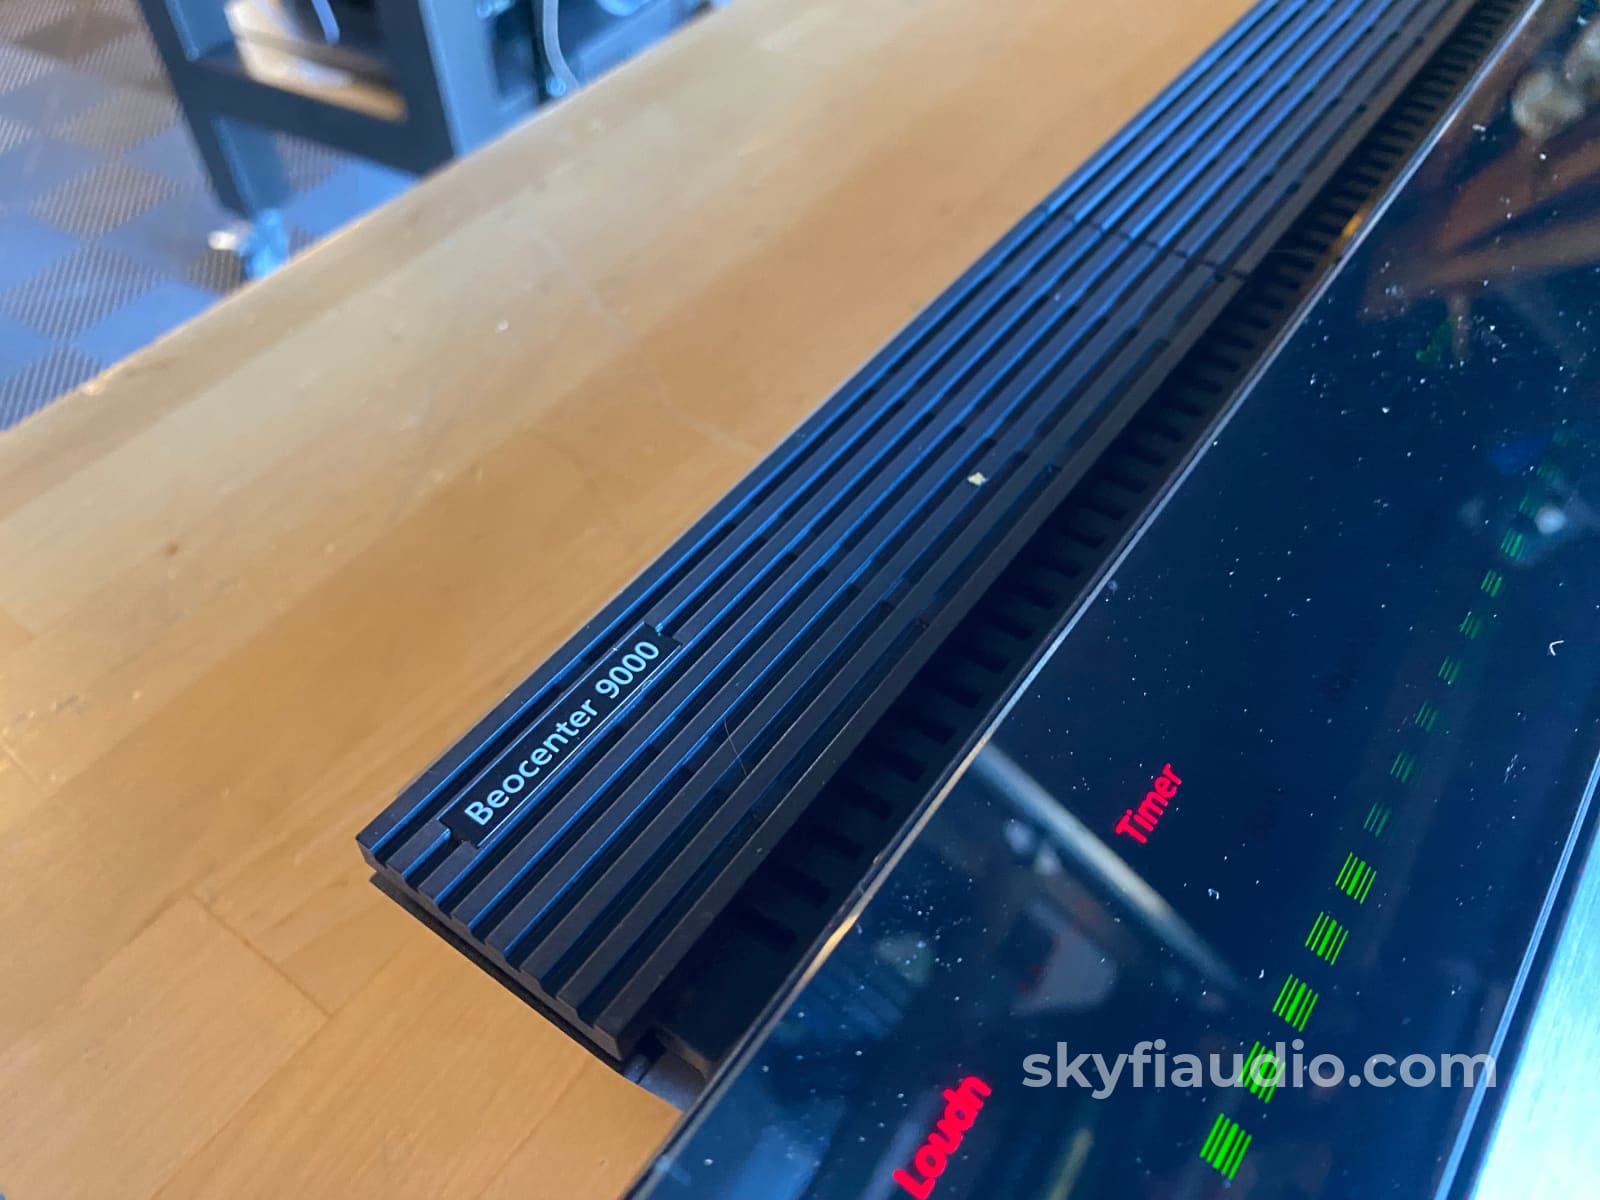
BeoCenter 9000
Manufactured: 1986 - 1990
Designer: Jacob Jensen
Colours: Aluminium
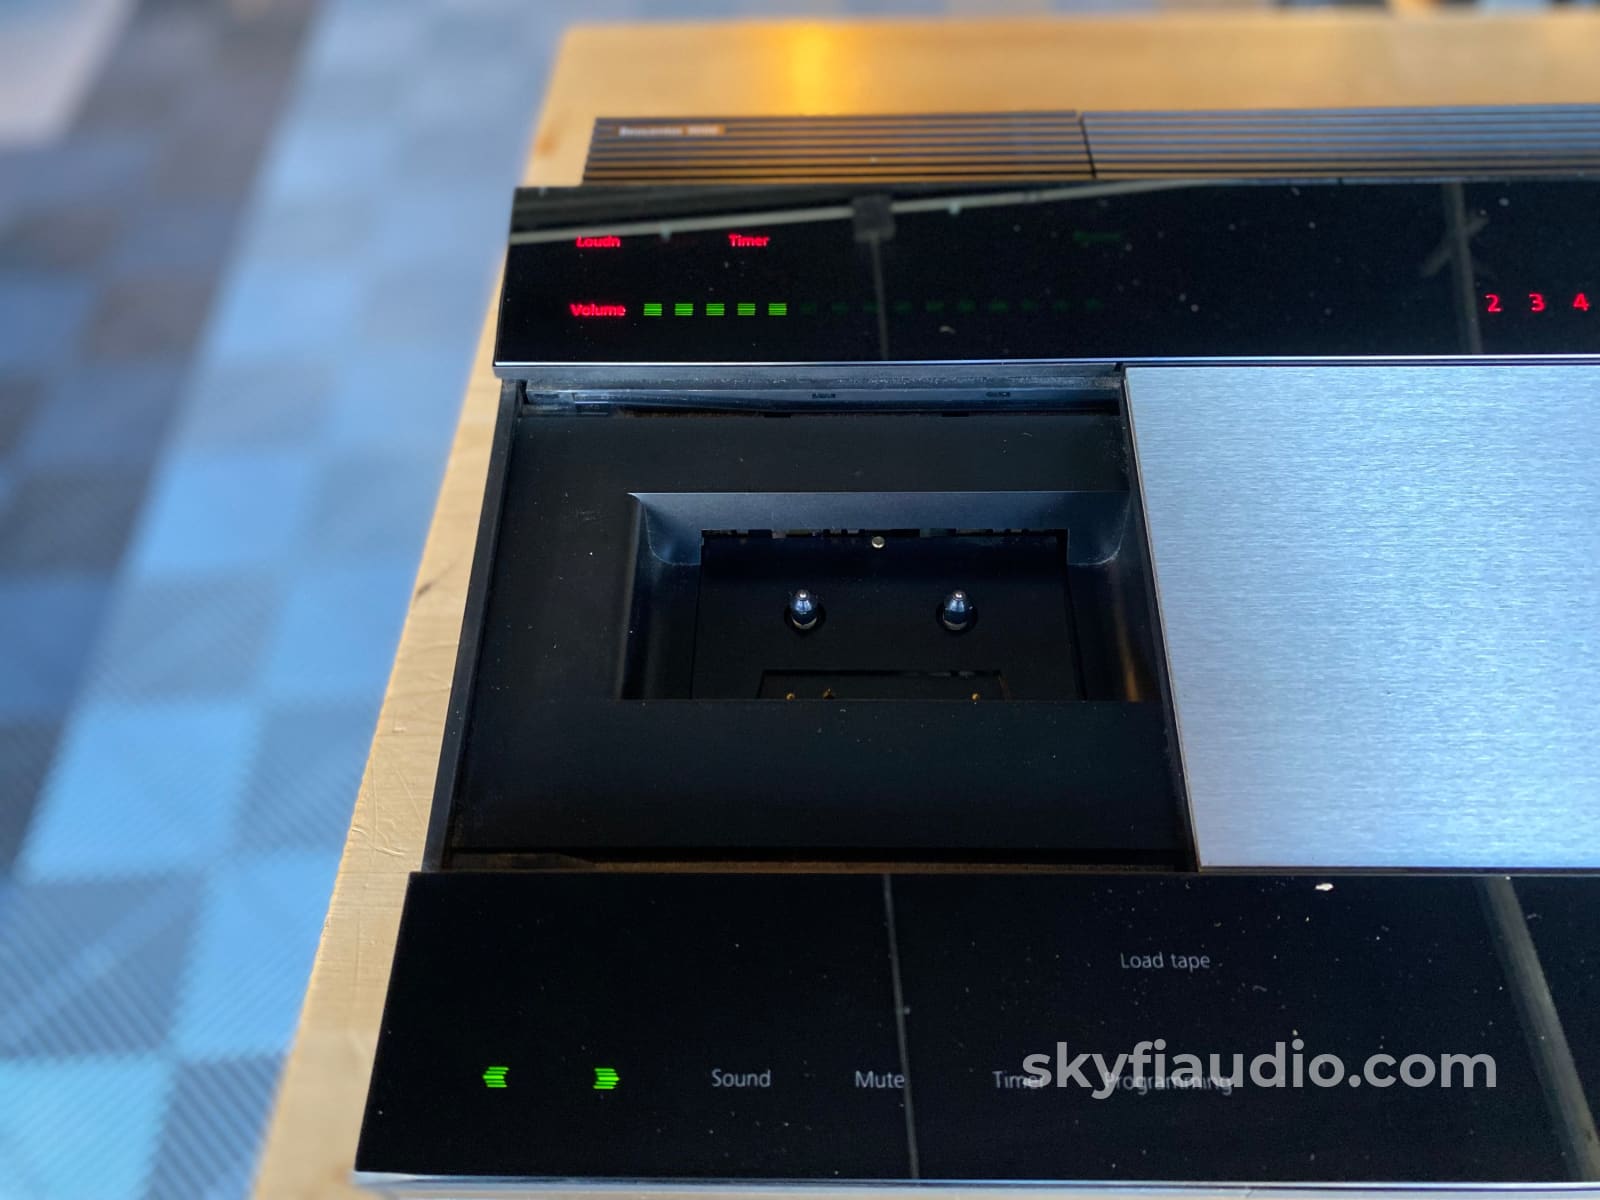
In the Beocenter 9000 Jensen radicalised the basic ideas that had asserted themselves in the Beomaster 1900. It was given two 'angles' but it is close to being merely a horizontal, floating, blank surface. The flush concept was taken a step further: now everything is entirely flat, nothing projects. Not even the lids on the CD player and the tape recorder rise at any time above their own level, but slip quickly and noiselessly to one side. Communication with the apparatus is reduced to two black glass sheets, one for input and one for output.
The cool, clean design - at once both peaceful and effective in appearance - reflects the rational operation, which is carried out via microprocessors. With the Beomaster 1900's division into primary and secondary operation facilities, Jensen had anticipated the computer interface of the IT age, in which priority is given to the potential of the function selector.
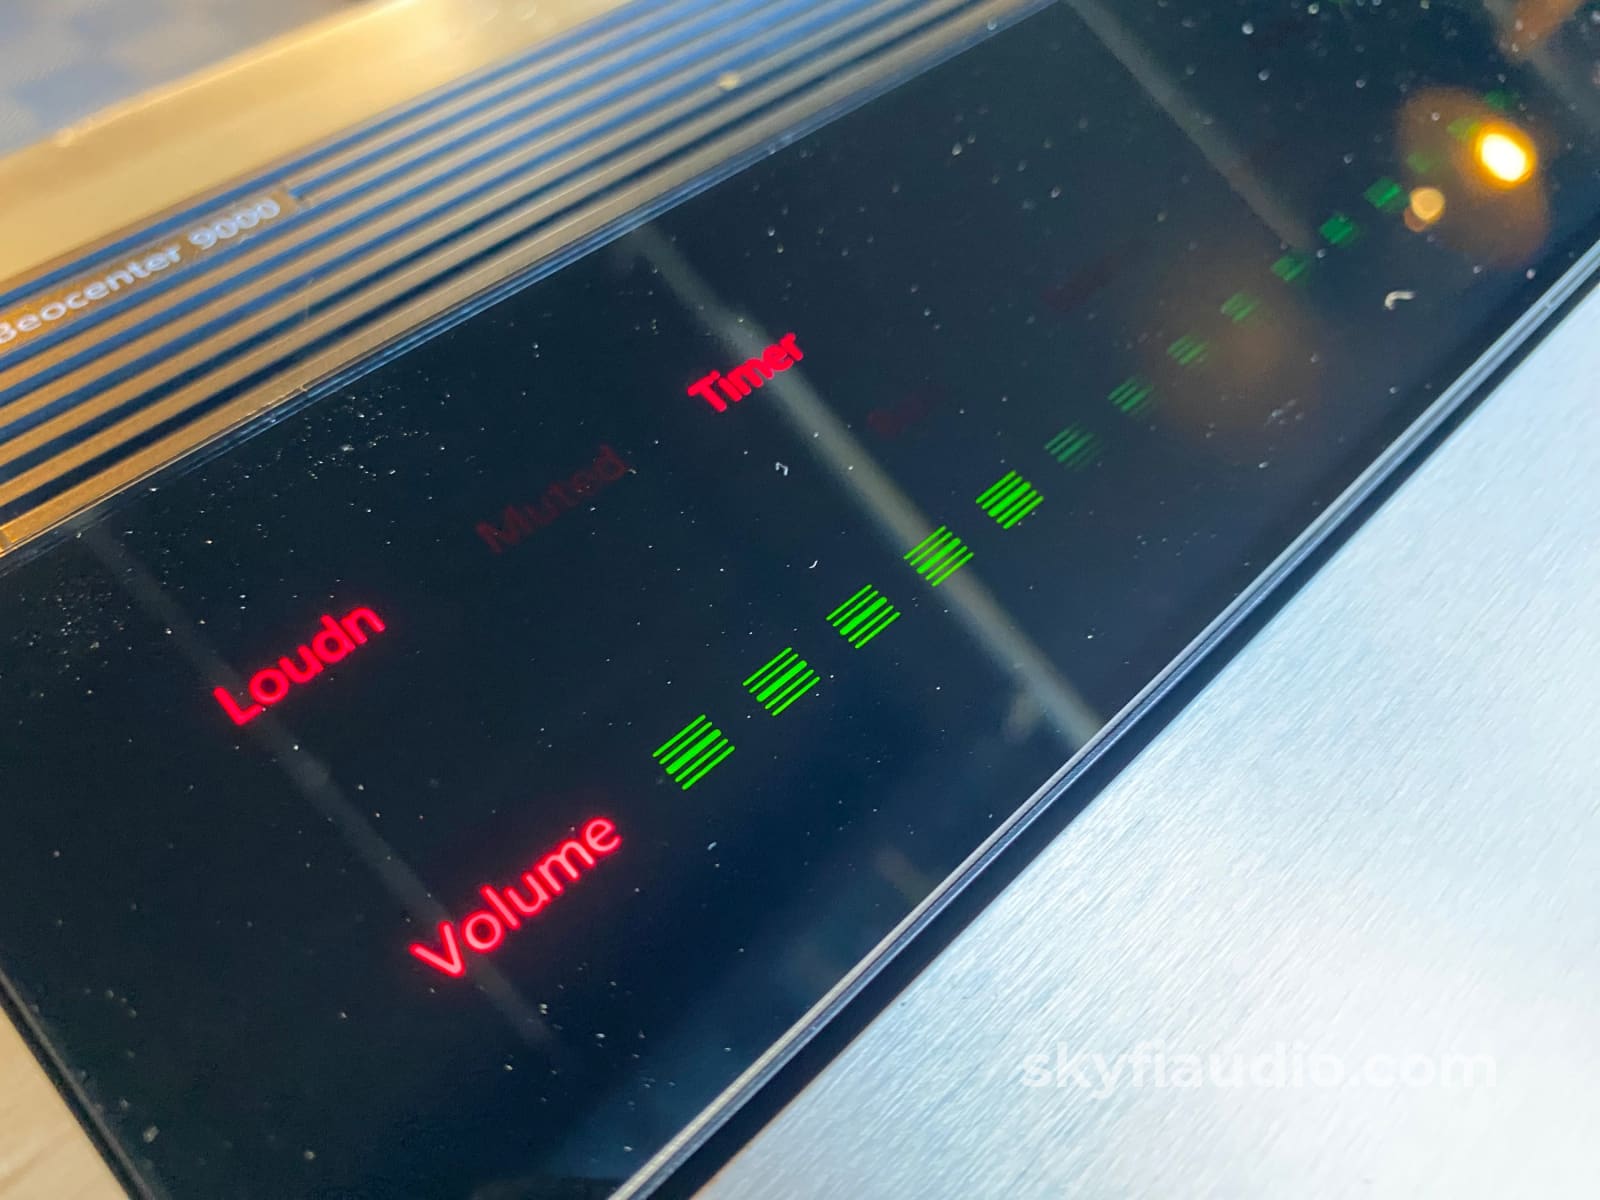
The Beocenter 9000 is electronic through and through: the operating instructions for the relatively complicated apparatus with its many functions are built into the control equipment. Only the entirely everyday basic functions are visible in standby. When they are touched gently, the upper glass sheet - the 'magic mirror' - lights up. Several possible choices emerge only when they are needed.
The best and most consummate Jensen make the user feel like a magician. It was really Jensen's wish that the lids on the Beocenter 9000 should slide aside entirely without being touched when a hand came close to them, but that visionary idea was difficult to realise because it would mean the lids would open, for instance, when you merely wanted to change the volume. The designer David Lewis solved that problem when he designed B&O's next breakthrough product, the upright Beocenter 2500 (1991). He hid all buttons behind the lids. Lewis took his further development of Jensen's B&O audio design profile in other directions when Jensen cease designing for the company in about 1990. By then, Jensen had designed more than 100 products for B&O. The reason for B&O's success in the 1970' and 1980s was the management's willingness to aim at and realise risk-filled, pioneering strategy.
Open Beocenter 9000
The lid of the Beocenter 9000 disappears into the side of the apparatus and makes the user feel like the hero of a science fiction film. The plus values of products cannot be created on the background of qualitative or quantitative marketing surveys. Jensen's role as the man who reads the trends of the time and uses his intuition to fulfil consumers' unconscious wishes gives him a special role as an artist in product development.
Simplicity itself
Two illuminated displays gave you all the information you needed. The upper display showed what was going on at the moment; the lower display gave you all the options at your disposal. Let's say that the upper display showed 'Radio'. If you pressed '3' on the lower display you got the radio programme you preset as number 3. The same goes for records, tapes or CDs.
You could carry out most of the day-to-day operations using the Beolink 1000 remote control. For programming however, you operated the control panel directly, and again, it was very straight-forward. You could programme concerts or shows to record when you were out and then enjoy them at your leisure. You soon found yourself wondering how you ever did without the elegance and flexibility of this exceptional music centre!
The fine art of control of Beocenter 9000
The unfailing sensi-touch control of the Beocenter 9000 works through a condenser effect. A graphite area is printed on the underside of the glass panel and charged with a high frequency current. Even the lightest touch of a finger will spark a reaction.
Beocenter 9000 won the Japanese Good Design award in 1987 and the German Design Auswahl in 1986.
The tape recorder of the Beocenter 9000's was almost fully automatic. You no longer needed to think of a cassette tape as having two sides. Auto Reverse reversed the sound head automatically so that in practice you had just one long tape at your disposal. This was of course, particularly useful for longer recordings.
Another useful feature was the automatic adjustment of the recording level, giving you total consistency throughout a number of different recordings. For noise reduction during recordings you could choose between Dolby B or C and then forget it; when you played the tape back, the recorder automatically switched to the system you used for recordings. It was also clever enough to identify whether you were using a standard, chrome or metal tape - and adjust itself accordingly.
You also had the benefit of Bang & Olufsen's HX-Pro recording system, giving you considerably superior reproduction of the upper ranges, regardless of the type of tape. And with the automatic track search system you could quickly find a particular piece of music quickly and easily.
The radio
Just as easy to use as the rest of the music centre, the radio could be preset for up to 20 AM or FM stations. All searching and tuning was fully automatic. Just key in the frequency you want - for example ' FM 100.9' - and the radio did the rest. You had plenty of choice where programming was concerned. If there was a daily programme you didn't want to miss, you could programme it to come on at a specific time, or to record when you were out. You could have your favourite music to wake you up during the week, and cancel it to lie-in at the weekends.
The Compact Disc player
The very latest innovations were used to give this CD player truly outstanding sound quality. It was also superbly flexible to use. You could find a particular track in seconds, repeat tracks at will, and programme the playing order virtually any way you liked. The choice was all yours.
The fine art of control of Beocenter 9000
The unfailing sensi-touch control of the Beocenter 9300 worked through a condenser effect. A graphite area was printed on the underside of the glass panel and charged with a high frequency current. Even the lightest touch of a finger sparked the reaction.
If you wished to use a record deck with the Beocenter, then Beogram 9000 was made to complement the rest of the hi-fi.
Features:
2 x 80 watt amplifier, CD player with programming, tape recorder with auto reverse, FM/AM radio, finger touch control, optional Beolink 1000 remote control operation, connections for Beolink® and headphones, optional BeoStand. Master Control Link.
Full Specs:
https://www.beoworld.org/prod_details.asp?pid=410
The SkyFi Testing Process for Preamplifiers:
We start with a visual inspection of all internal components to make sure that there are no signs of heat stress or damage. Capacitors are checked for telltale signs of predictive failure including bulging, shrunken wrappers, or physical leakage. We also inspect the PCB’s for discoloration from resistors or transistors that may have been running hot. On vintage units we often spot check select capacitors for value and ESR.
When we first power on a preamplifier we connect its RCA output to a Sencore PA81 Power Analyzer which simulates real world loading conditions and gives us an oscilloscope interface. The first order of business is checking that the volume control works smoothly throughout its entire range with acceptable channel balance. This is accomplished by feeding a 1KHz sine wave into one of the preamp’s line level inputs while monitoring the preamp’s output on an oscilloscope. We then switch to a 1KHz square wave to test the tone controls, loudness function, and filters where applicable. During this step we are watching for equal alteration of the test signal by both channels. This also helps us identify dirty controls that will need treatment. Once the basic line stage functions are verified, we test each input individually. This is especially important for devices that use relays to select their sources. If the preamp is equipped with a phono stage we test that as well. We use an inverse RIAA filter which allows us to feed a reference test signal into the phono input with the proper RIAA equalization and level. A square wave or sine sweep is used to verify that the device’s phono stage is faithfully reproducing the RIAA curve. If the preamp under test has balanced inputs and/or outputs these are tested as well.
We finish up our bench testing with a listening test with our bench amplifier and reference speakers. During this test we check for hum or hiss that may not have shown up in earlier testing. We also check that all of the tone controls and filters perform as expected. If the preamplifier has remote control functions these are also tested. Preamps with tube circuits or complicated power supply topologies are connected at our long term test rig for extended stress testing under real world conditions.
The SkyFi Testing Process for Solid State Amplifiers:
We start with a visual inspection of all internal components to make sure that there are no signs of heat stress or damage. Capacitors are checked for telltale signs of predictive failure including bulging, shrunken wrappers, or physical leakage. We also inspect the PCBs for discoloration from resistors or transistors that may have been running hot. On vintage units we often spot check select capacitors for value and ESR.
If the amplifier passes visual inspection, we move on to a controlled power on sequence using a Sencore safety analyzer to monitor current draw in real time. Once the amplifier is determined to be safe to operate, we connect it to full AC mains for function and power testing. We connect the speaker outputs of the amplifier to a Sencore PA81 Power Analyzer which acts as a dummy load, DC offset monitor, and oscilloscope interface. We start with a low level 1KHz test signal at the amplifier’s input and slowly increase its amplitude while monitoring the output on an oscilloscope for signs of noise, clipping, distortion, or improper channel balance. We continue increasing the signal level until the amplifier reaches clipping. At this point we take an output power measurement and compare it to the spec sheet of the amplifier to verify proper performance. If the device under test has both balanced and single ended inputs they are both tested at this time. We finish off the bench evaluation with a 1KHz square wave check and a 20Hz to 20KHz sine sweep to assess the amplifier’s frequency response characteristics. This battery of tests will usually reveal if the amplifier has any issues that need further attention.
Before the device leaves the bench, we perform a listening test with actual music using a variety of preferred test tracks. Our benches are outfitted with familiar monitor speakers which help us identify inconsistencies that will not always show up on our test gear. The main things that we are listening for are hum or noise with no signal present, proper center image, clicks, pops, or any other obvious undesirable audio characteristics.
If the unit passes all of these tests it is moved to our long term testing rig where we simulate real word operating conditions for 6-8 hours. This allows us to monitor the unit for signs of thermal runaway or intermittent issues that only crop up when the unit has fully come up to temperature.
|
Item |
Included |
|
Original Box |
Not Included |
|
Manual |
Not Included |
|
Remote |
Not Included |
|
Cables |
Yes - Captive Power Only |
|
Physical Condition (Info Here) |
7 / 10 |
|
Working Condition |
10 / 10 |
The SkyFi Testing Process for CD Players:
We start with a visual inspection of all internal components to make sure that there are no signs of heat stress or damage. Capacitors are checked for telltale signs of predictive failure including bulging, shrunken wrappers, or physical leakage. We also inspect resistors and other passive components for signs of overheating. When the unit is first powered on we check the drawer mechanism function.
After the visual inspection we connect the CD Player’s RCA outputs to our Sencore PA81 Power Analyzer which simulates a real world input impedance and allows us to monitor the output on an oscilloscope. We start with a test CD with precision test signals to verify proper output on both channels. If the CD player has balanced outputs these are also tested at this time. If this check passes, we move onto evaluation with actual music CDs. We listen for clicks, skips, and drops during playback. At this time we also check the transport functions including skip, ff, rw, play, pause, repeat, and programming if applicable. If the unit has a remote control, all remote control functions are verified.
If the CD player is capable of SACD playback we test its ability to read SACD layers on multiple discs including standard and hybrid SACDs. At this time we also check the unit’s digital outputs where applicable. If SACD layers are being properly read we should see the digital outputs mute during playback. On redbook CD playback we verify that each digital output maintains proper lock on our bench DAC.
After bench testing is completed, CD players are set up for testing on our long term test rig. During extended testing we make sure that unit can play through several different discs from beginning to end with no skips or lock ups.
The SkyFi Testing Process for Tape Decks and Reel to Reel Machines:
First steps are performed to determine if the unit is a candidate for our full restoration process or if its just in need of a light service.
We first do a basic functionality test to ensure proper playback fast forward and rewind. We look for smooth operation of the motors, transport engagement and associated rolling parts.
We then do an internal physical inspection to ensure the belts and rubber consumable parts are up to spec.
Internal components are checked to make sure that there are no signs of heat stress or damage particularly in the power supply section. Capacitors are checked for telltale signs of predictive failure including bulging, shrunken wrappers, or physical leakage. We also inspect the PCBs for discoloration from resistors or transistors that may have been running hot. On vintage units we often spot check select capacitors for value and ESR.
A light service will involve replacement of belts and rollers, external cleaning of heads, mechanism and boards and basic record and playback tests.
A full restoration will often include disassembly of the drive system and replacement of all consumable and wearable parts including pinch rollers, belts, brakes, bearings. We then clean lubricate and re-assembly the drive and perform basic mechanical alignment to ensure proper tape path and head alignment.
Final calibration will involved adjustment of playback erase and record heads and optimization of the bias for a specific tape type. We do this with the aid of a Soundtech 1510A tape deck analyzer and a Nakamichi T100 unit and reference calibration tapes.
Final listening tests are done while monitoring with our reference Grado HP1 headphones and a variety of factory and custom reference recordings. We find that there is no better system for critical listening on tapes than the headphones specially when comparing a live feed to a recorded feed.
Choose options


